
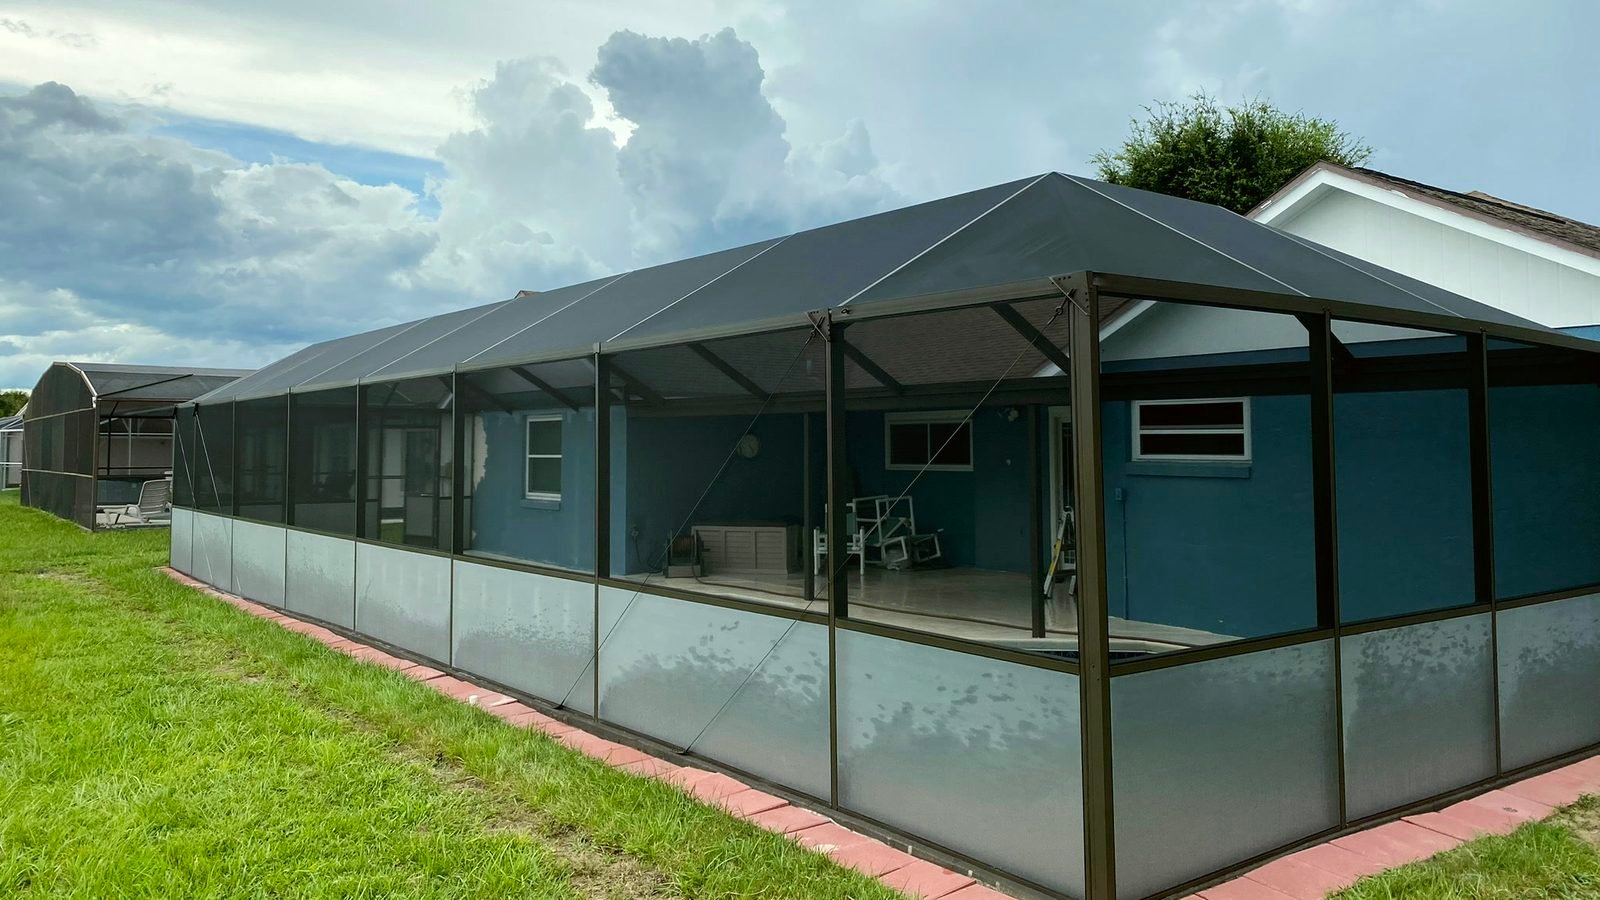
Pool cage restoration in South Florida brings back the enclosure you already have. The frame gets washed and prepped, then primed and given two sprayed finish coats. Every panel gets new mesh and spline, and the crew fixes the doors during the same visit. If the aluminum is straight and the anchors hold, restoration is usually the right call.
What a Full Restoration Includes
A restoration handles the metal and the mesh in one job. Our restorations include:
| Part of the Cage | What Gets Done |
|---|---|
| Frame finish | Pressure wash and hand prep, then bonding primer and two sprayed finish coats |
| Fasteners | Rust treatment where steel screws and brackets bleed onto the aluminum |
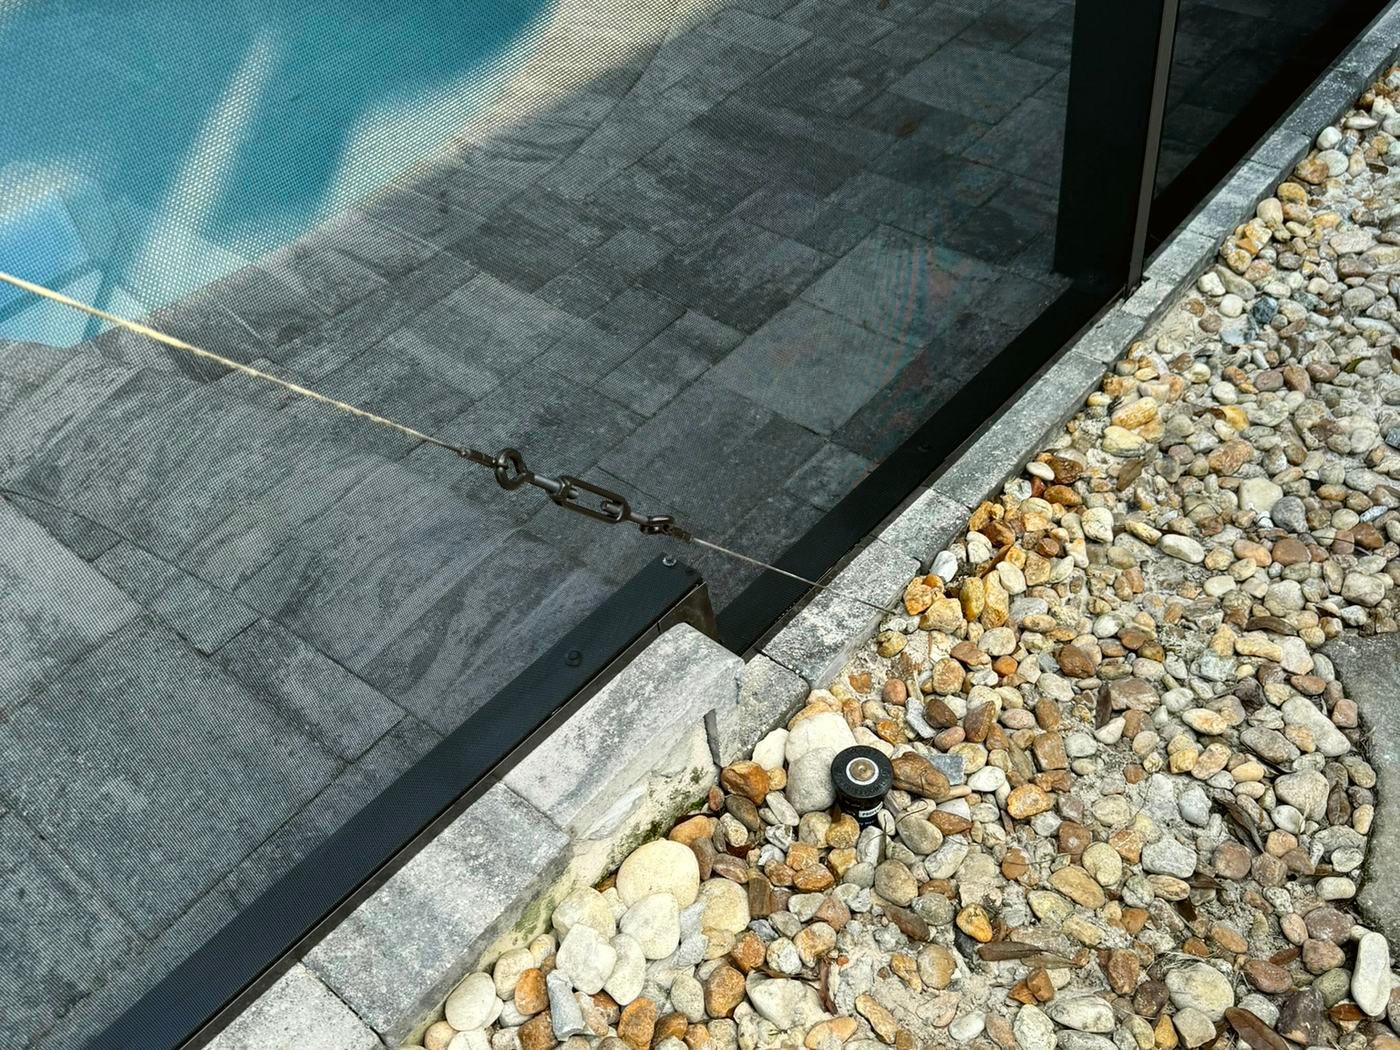
| Screen | New mesh and fresh spline on every panel, tensioned flat |
| Doors | Door screens and kickplates, with sweeps and closers replaced or adjusted |
| Frame check | Loose screws and minor frame issues caught while the crew is there |
| Cleanup | Old screen and spline bagged and hauled away, then a final walk with you |
Choose from standard 18×14, no-see-um, pet resistant or hurricane rated mesh, and we help you pick. Pool cage painting and pool cage rescreening can also be booked separately. A restoration puts both in the same visit.
Doing both in one visit: with the old screens out, the crew can reach every surface of the frame, including spots that are hard to paint through mesh. Ask about combined pricing at your estimate.
Is Your Cage a Candidate?
Restoration works when the structure is still sound. Look for:
- Beams that look straight when you sight down them from a corner of the cage.
- Solid metal at the base of each upright, even if it is stained or chalky.
- Anchors tight to the deck, with no lifting base plates or concrete breaking up around them.
- Surface problems only: fading, chalking, rust streaks from screws, sagging or torn mesh, or a door that no longer closes right.
Bent beams and anchors pulling out of the deck are structural problems. Paint won't help. Our guide to pool cage repair vs. replacement explains where the line sits and how to inspect your cage in about fifteen minutes.
The Work, in Order
Paint only holds as well as the prep underneath it. Here's the order of a full restoration.
1. Estimate and color samples
We walk every frame member and photograph the problem areas, then write up an itemized quote. If the color is changing, we bring samples to the house so you can see them against your walls and roof before deciding.
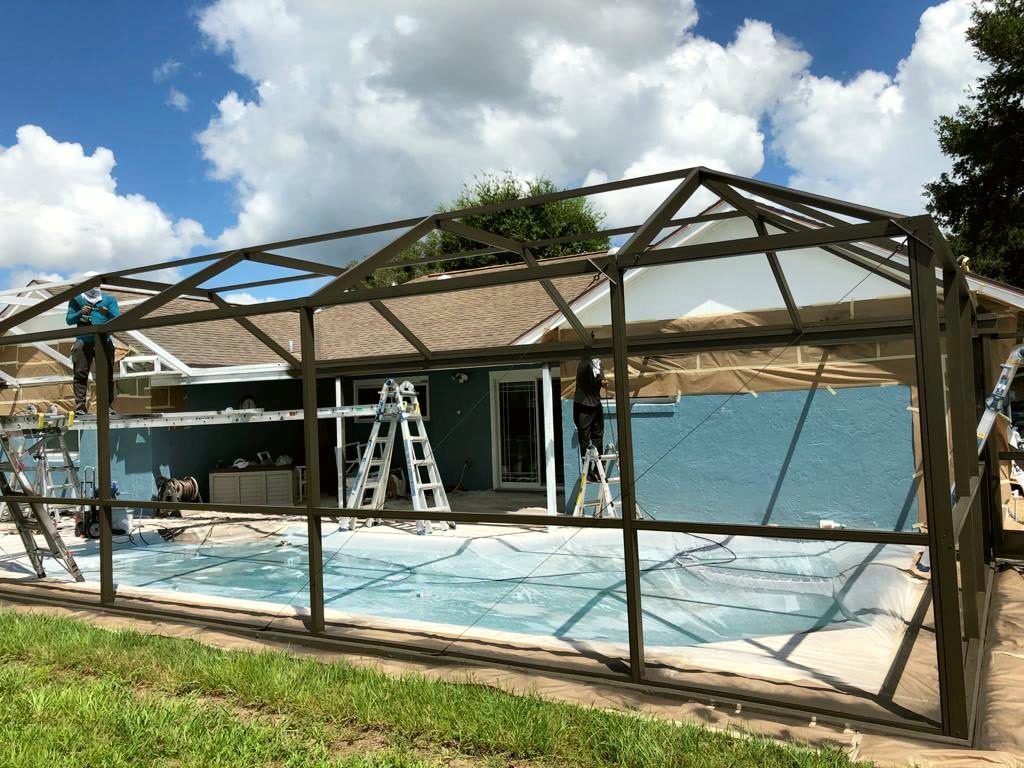
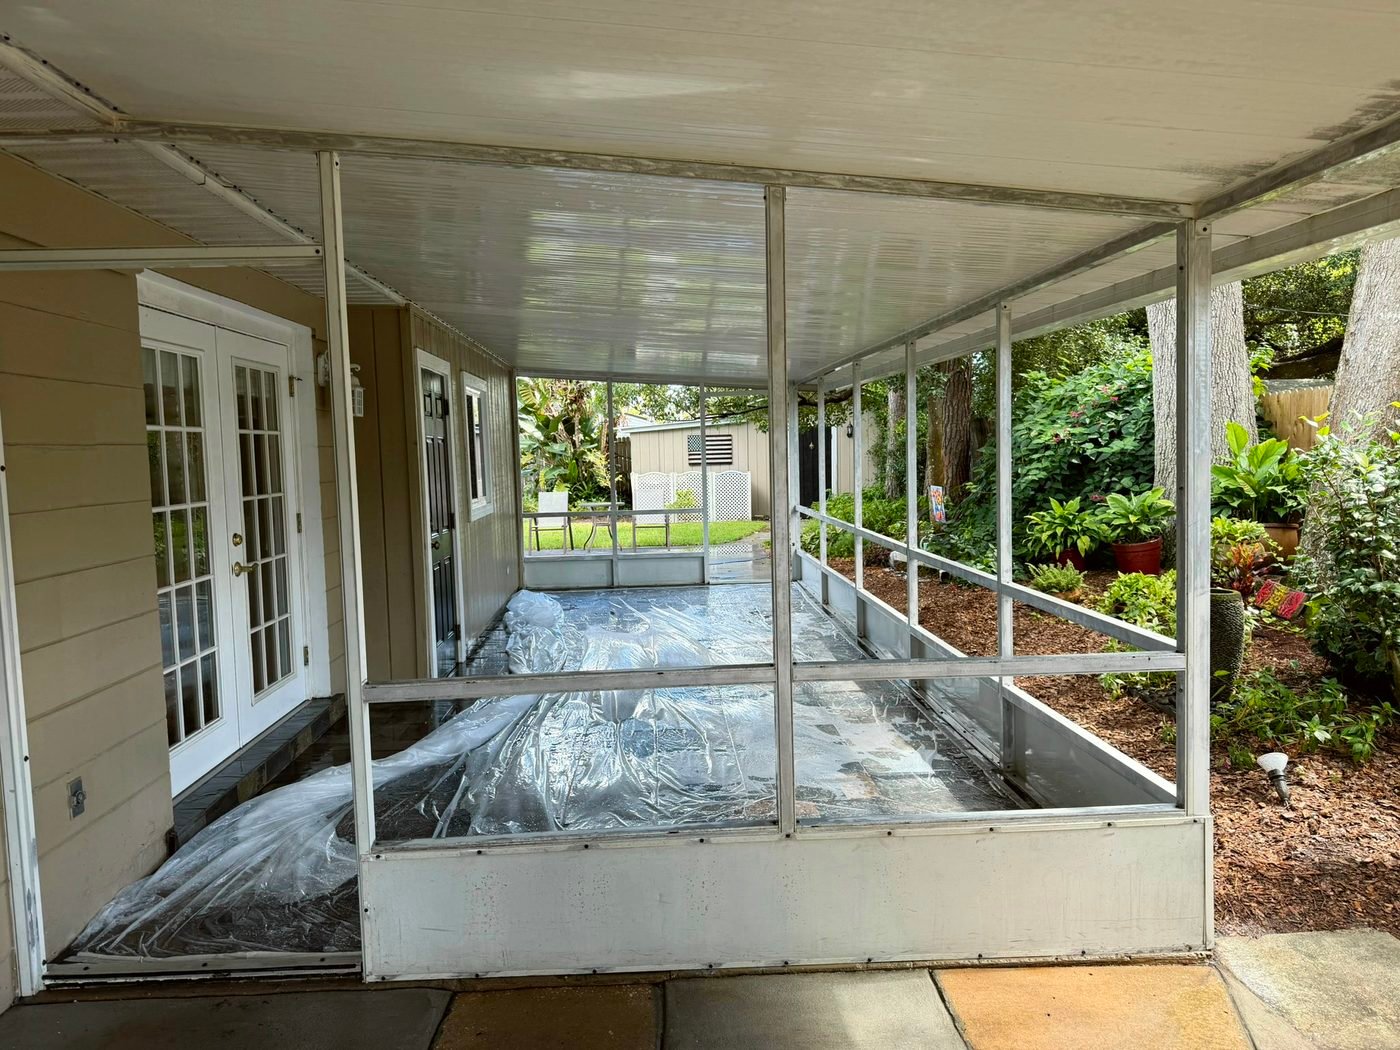
2. Screens out, everything else covered
The old mesh and spline come out first. Then we mask the house and landscaping and cover the pool. Sprayed paint drifts.
3. Wash and prep the frame
We pressure wash away chalk and dirt, scrape failing paint and sand rough spots smooth. This step decides how long the new finish lasts. It's also the one most often rushed.
4. Primer, then two finish coats
A direct-to-metal bonding primer goes on before any color. Then we spray two finish coats, giving the joints and undersides the same coverage as the faces you see from the pool.
5. New screen
Once the paint is dry, we install new mesh panel by panel, with fresh spline and even tension. Doors get new screen too. Where needed, we replace kickplates or sweeps and adjust the closers.
6. Cleanup and the walk-through
The masking comes down, and the old screen leaves with the crew. We walk the cage with you and handle any touch-ups on the spot. You get the written warranty before we call the job closed.
How Long a Restoration Takes
A full repaint takes 3 to 5 days on most residential cages. Larger or two story cages can take up to a week. If we are also rescreening, your written estimate lays out the whole schedule day by day before work starts.
What can change that schedule:
- Rain. Paint needs a dry surface. South Florida's rainy season runs from May 15 to October 15.
- Size and height. Two story and oversized cages have more frame to prep and spray.
- Rust and peeling paint. Heavy corrosion at the fasteners or badly failing paint means more prep.
- Mesh availability. Specialty mesh can affect when the rescreen happens.
Timing tip: the dry season, from mid October to mid May, is the easier window for exterior painting. For work during those months, get your estimate and any HOA approval out of the way early.
Getting Your Home Ready
Before the crew arrives:
- Move patio furniture and planters away from the frame where you can.
- Plan around the pool. On spray days, the pool and deck are covered and off limits. Light use is usually fine on prep days and between coats.
- Keep pets inside while the crew is working.
- Switch off any sprinklers that reach the cage for the painting days.
- Settle the color first. If your HOA requires approval, have it in writing, along with the paint code, before the start date.
What Your Quote Should Show
The quote should list the work line by line. Before signing, check for:
- Itemized prep, including rust treatment at the fasteners.
- The paint system: primer, number of finish coats, coating and color.
- The screen: mesh type and the number of panels being replaced.
- Doors and hardware, listed separately when they need work.
- A day by day schedule.
- Written warranties for workmanship, plus the manufacturer warranties on the coating and mesh.
- Proof of license and insurance.
Our estimates are free and itemized, with no hidden fees. Most get scheduled within 24 hours. For current price ranges, see our guides to pool cage rescreening cost and pool cage painting.
Frequently Asked Questions
What is pool cage restoration?
How long does a pool cage restoration take?
Is it better to restore or replace a pool cage?
Can I change my pool cage color during a restoration?
Do I need a permit to restore a pool cage in Florida?
Is there a warranty on the work?
Restore the Cage You Already Have
Free on-site estimates across Central and South Florida, usually within 24 hours. The owner is on every job, and we will tell you honestly whether your cage needs restoration or something more.